Setup a CDN project
Step 1: Create a new project
Section titled “Step 1: Create a new project”Create a new project from your QuantCDN Dashboard by clicking the “New Project” link from the sidebar.
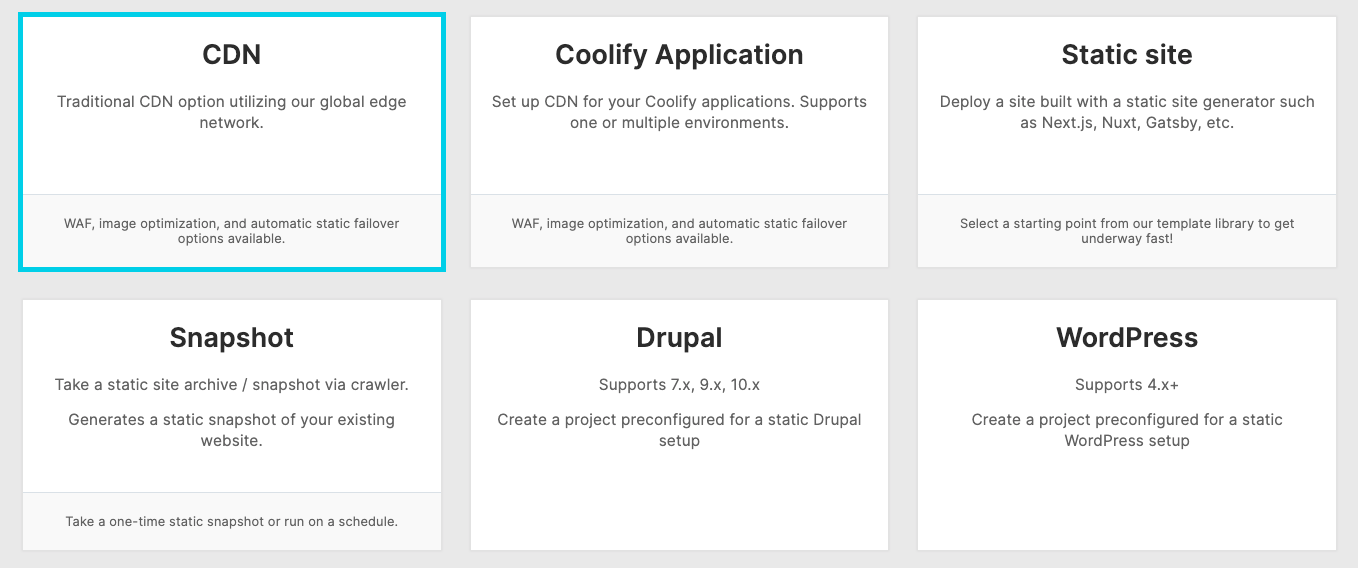
Select the “CDN” option and proceed to the next step.
Step 2: Configure connection to your origin / backend
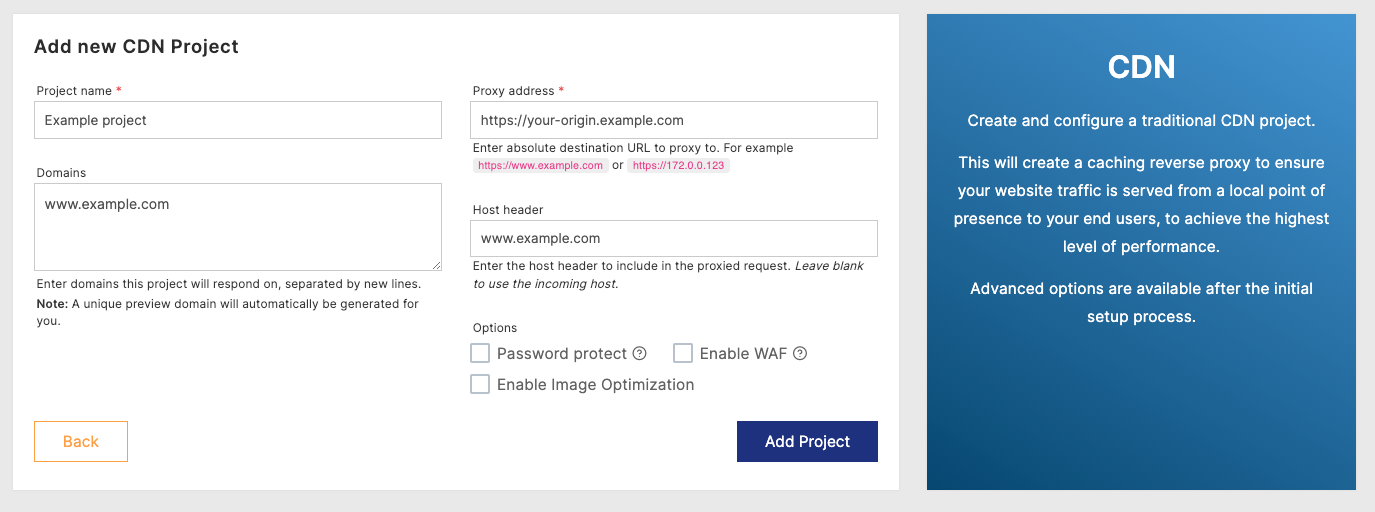
Section titled “Step 2: Configure connection to your origin / backend”- Enter a project name
- Enter the domains you want routing through CDN. You can always add these later from the “Domains” section
- Add your origin server details in the proxy address, which may either be a domain (e.g:
https://origin.yourdomain.com) or an IP address. Either HTTP or HTTPS connections are supported - Enter the host header you wish to send in the request to your origin server. If you leave this blank it will send the incoming host header (e.g the domain the client accesses from)
- Optionally password protect your project, enable WAF, or enable image optimization.
You can configure more advanced options after the initial project creation process.
Step 3: Preview site & update DNS
Section titled “Step 3: Preview site & update DNS”At this point you should be ready to go!
Navigate to the Domains section of the Quant Dashboard. You will see a preview domain has already been configured for you which you can use to test your application prior to updating DNS to point to Quant.
Once you are ready to go follow the DNS instructions at the top of the page to update A or CNAME records as appropriate for your domain(s).
Congratulations! Your website will now be routing through QuantCDN with all of the benefits of a globally distributed edge cache.
At this point you may consider improving your security posture by checking your Security Headers, configuring WAF and rate limits, or locking down your origin / backend from direct access.