
From Drupal site to secured
This walkthrough has the same steps as the film “Drupal to secured”, plus the project setup and module settings that the film does not show. It moves the public pages of a Drupal 11 site to static files on Quant with the Quant module 2.3, and keeps Drupal for your editors. Visitors then read static pages from Quant, and no application code runs when they open one. Each step links the page that has the full detail.
The film uses a fictional site, Tolmerra Water Authority, that publishes to the Quant project tolmerra-water. Use your own site and project names.
Before you start
Section titled “Before you start”- A Drupal 11 site that you can run Composer on. Drush is optional: each Drush step below also has a way in the browser. Module release line 2.x is for Drupal 11; see Get started for other Drupal versions.
- A Drupal account with the permissions “Administer Quant configuration” (the Configure, API and Forms tabs) and “Trigger a bulk export/seed via Quant” (the Seed tab), and “Administer Quant Search” for search pages.
- A Quant account on QuantCDN (
https://dashboard.quantcdn.io) or QuantGov (https://dash.quantgov.cloud) that can create projects in the organisation. - For forms: the Webform module. For search: the Token module and a Quant Search subscription.
- Drupal cron that runs on a schedule. Cron renews the Quant login, works through the Quant queue, and turns Quant Forms off for forms that have closed.
- For “Log in to Quant”: a site that publishes to one Quant project and is not installed in a subdirectory, on a server that can reach the Quant dashboard and API over HTTPS. Other sites connect with a project token.
The Quant pages in Drupal are tabs of Configuration > Quant. The module’s own tabs (Configure, Seed) are under /admin/config/quant. The tabs that the API, Forms, Search and Cron submodules add are under /admin/config/development/quant.
1. Create the project
Section titled “1. Create the project”In the Quant dashboard, go to Projects, click New project, then Manual setup. Enter the Project name and the public Domains of the site, and click Add project. Quant makes a preview domain for the project, so you can check the static site before any DNS change. Turn on Enable search if you will add a search page.
The film starts with the project already made. See Get started with the Quant dashboard for each project option.
2. Install the module
Section titled “2. Install the module”Install the module from drupal.org with Composer:
composer require 'drupal/quantcdn:^2.3' drupal/webform drupal/tokenThen turn on the modules, with Drush or in the browser:
- With Drush:
drush en quant quant_api quant_webform quant_search -y - In the browser: go to Extend (
/admin/modules), tick Quant, Quant API, Quant webform and Quant Search, and click Install.
| Module | What it does |
|---|---|
quant |
Pushes pages, files and redirects to Quant, and tracks content changes |
quant_api |
Connects the site to Quant (the API tab and “Log in to Quant”). quant needs it, so turning on quant turns it on too |
quant_webform |
Quant Forms for Webform. Needs the Webform module |
quant_search |
Quant search pages. Needs the Token module |
If the site does not use forms, leave out drupal/webform and quant_webform. If it does not use search, leave out drupal/token and quant_search.
Then open Configuration > Quant (/admin/config/quant) and check these settings. The film does not show this page, because the demo site already had them:
- Track content change is on (the default), with the entities to push ticked under Tracked entities.
- Webserver URL is the local loopback address of the web server, for example
http://localhost. The module requests each page from this address on the Drupal server, then pushes the page to Quant. - HTTP Host header is the public domain of the site, for example
www.example.com.
Drupal checks the Webserver URL each time you open this form. It requests /quant/validate from that address. If the request fails, the form shows the error “Unable to connect to local webserver. Check webserver and host header settings.” If it works, the form shows “Connected successfully.” The check uses the saved settings, so save a change and open the form again to see the new result. See Local web server for the fix.
3. Log in to Quant
Section titled “3. Log in to Quant”-
Go to Configuration > Quant > API (
/admin/config/development/quant/api). -
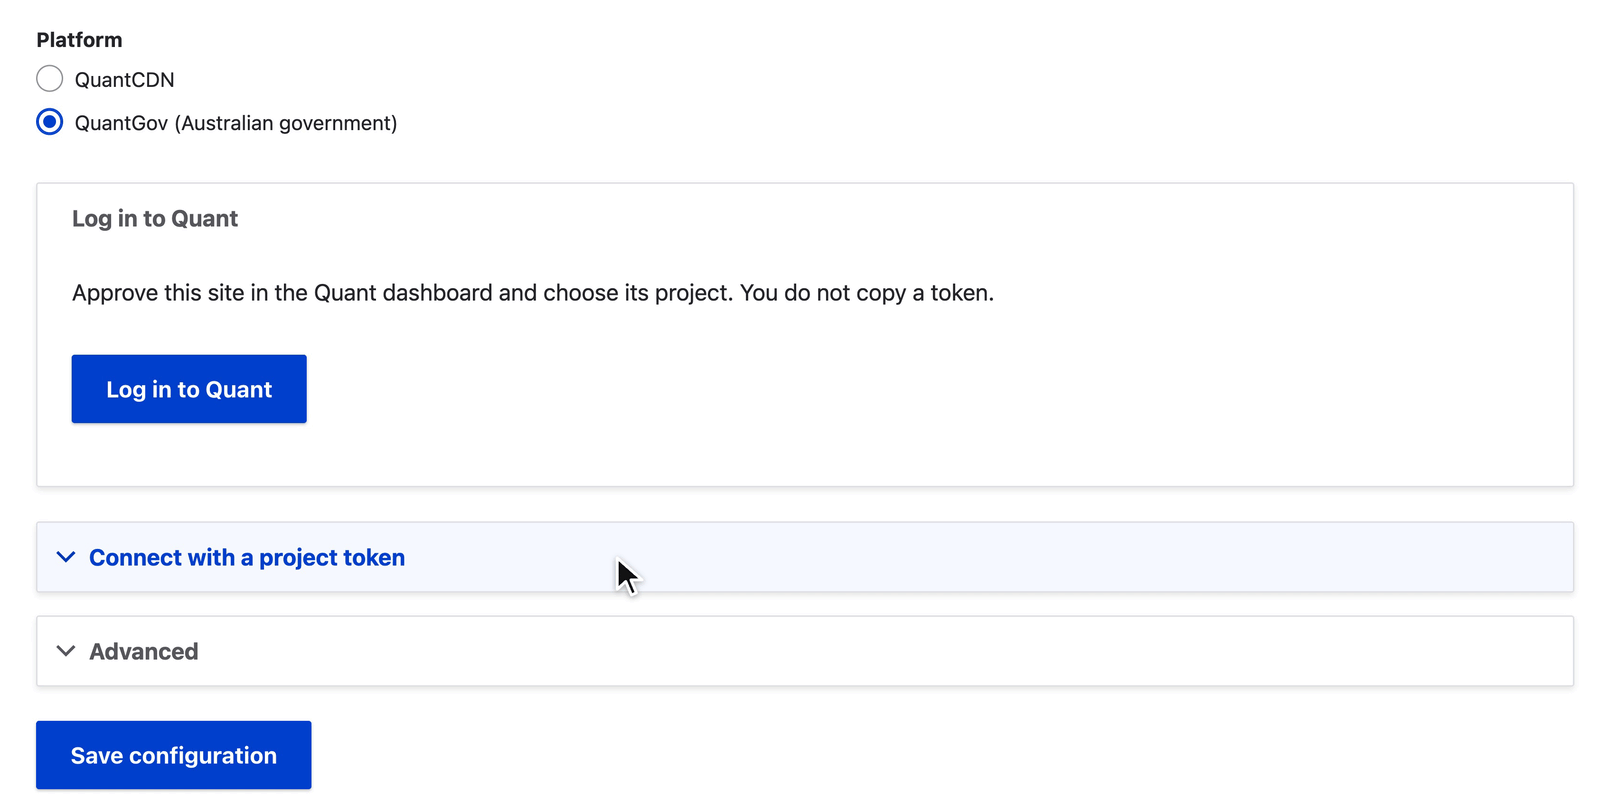
Under Platform, choose QuantCDN or QuantGov (Australian government).
-
Click Log in to Quant.
-
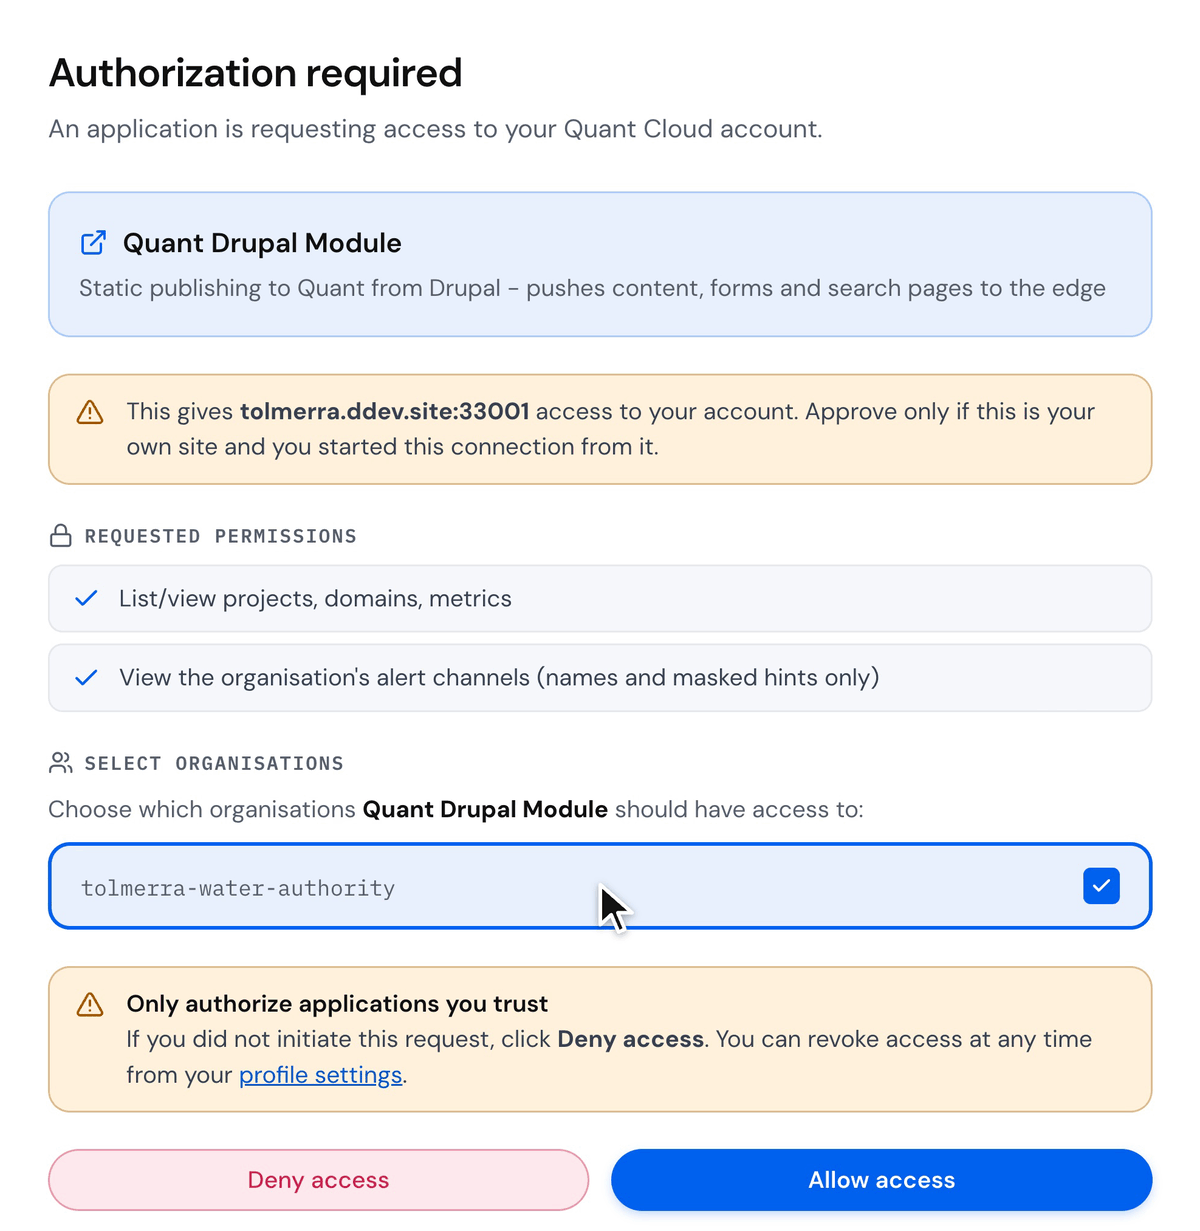
The Quant dashboard opens on Authorization required for the “Quant Drupal Module”. Sign in if you are not signed in. Under Select organisations, tick the organisation of the project, then click Allow access.
-
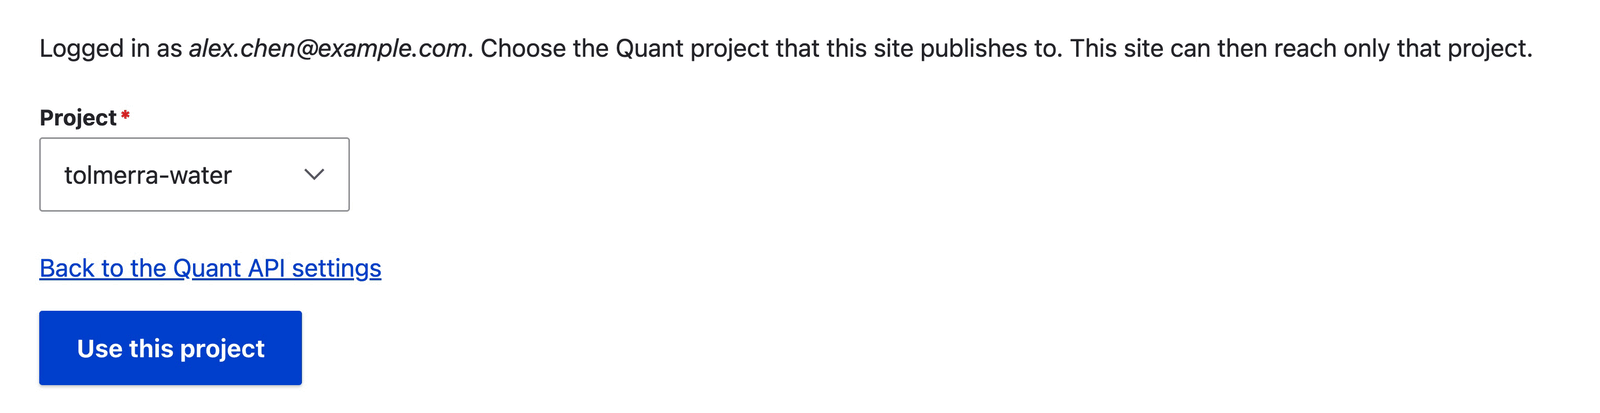
Back in Drupal, choose the project in Project and click Use this project.
Drupal shows “This site now publishes to the Quant project project.” Later views of the API tab show “Connected to the Quant project project.” The Log in to Quant section names the user, the project and the organisation, and says that the site “can reach only that project”.
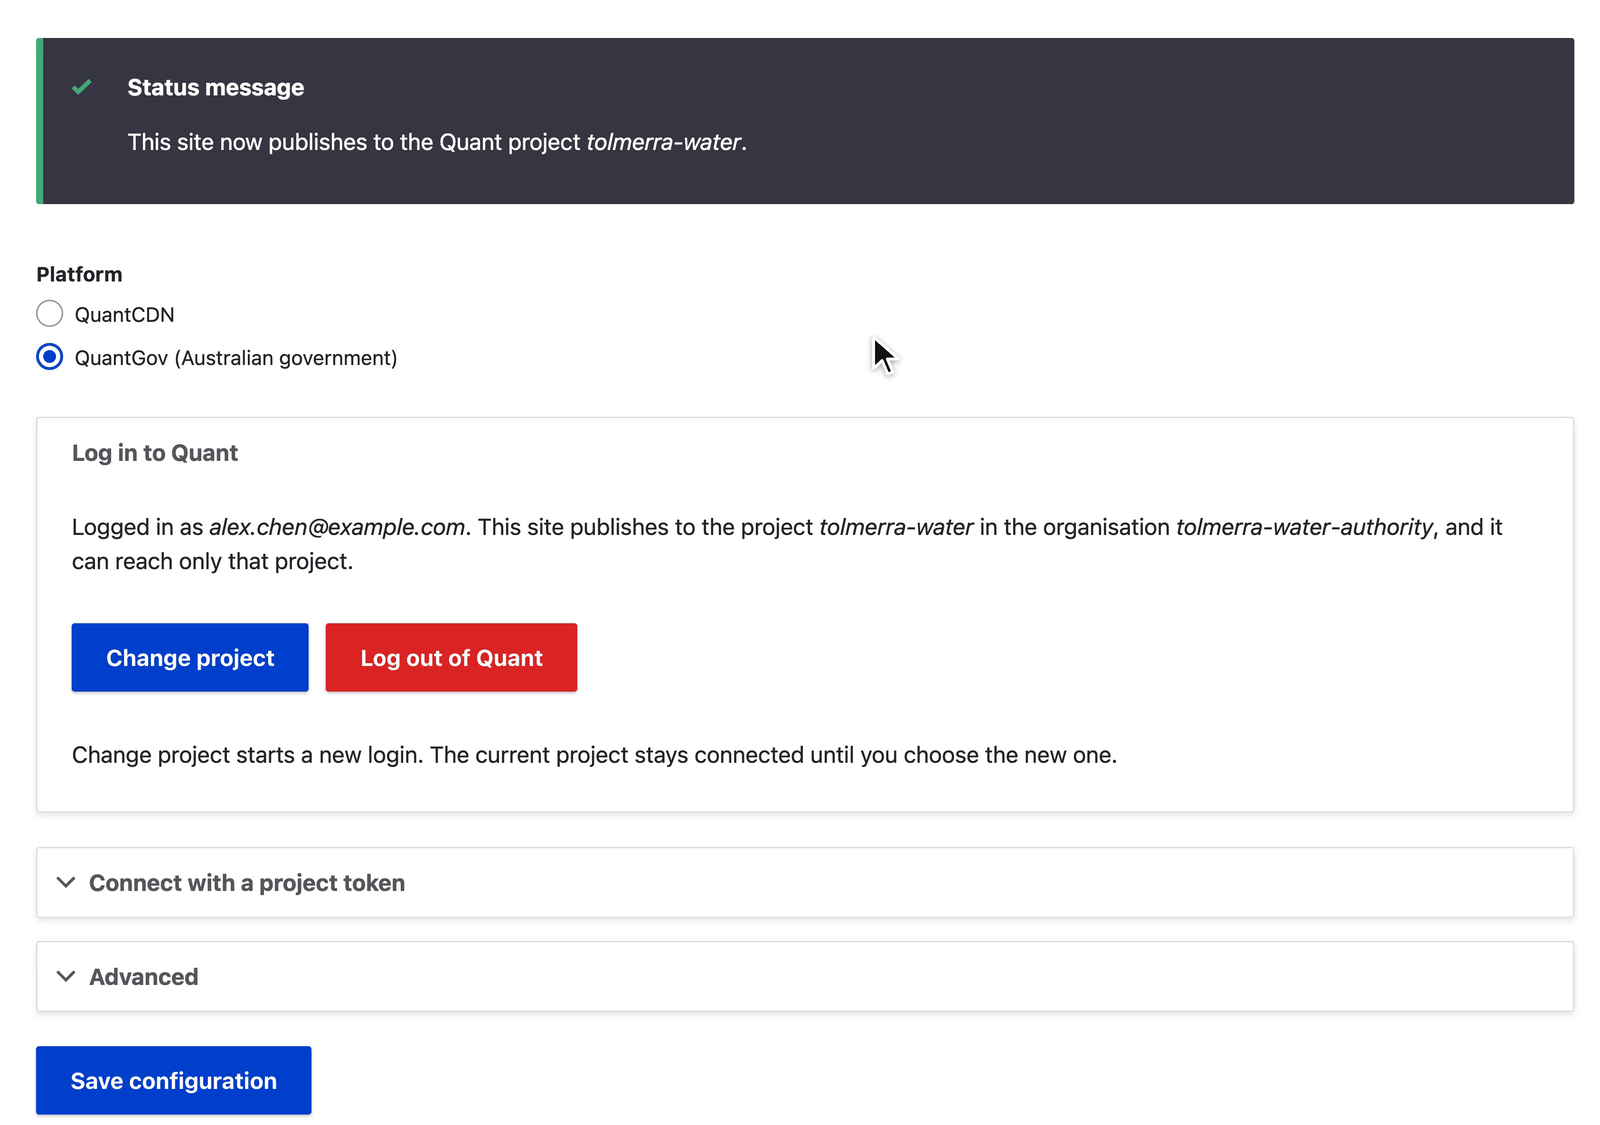
You do not copy a token. After you choose the project, the module limits its login to that one project, and it keeps the login outside Drupal configuration. To connect with a project token instead, or for Change project and Log out of Quant, see Log in to Quant.
4. Push the whole site (seed)
Section titled “4. Push the whole site (seed)”-
Recommended, for faster runs: add this line to
settings.php:$settings['queue_service_quant_seed_worker'] = 'quant.queue_factory'; -
Go to Configuration > Quant > Seed (
/admin/config/quant/seed). -
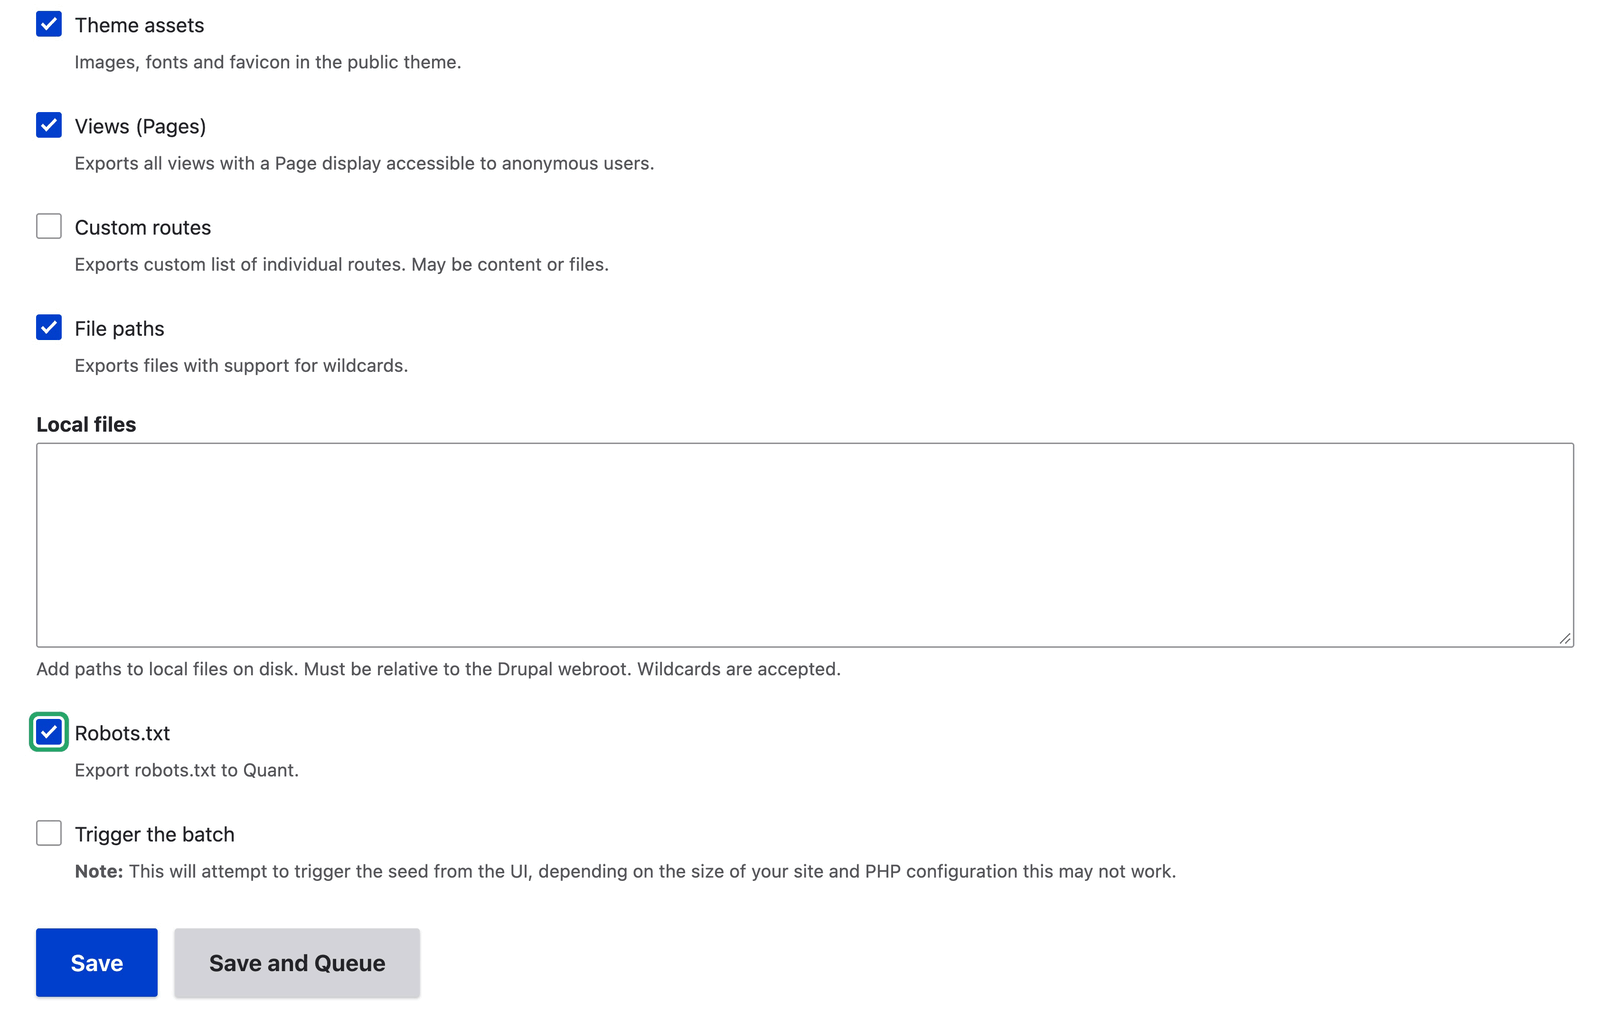
Tick what to send to Quant. The film ticks Nodes, Taxonomy terms, Theme assets, Views (Pages), File paths and Robots.txt. Add Custom routes if your site needs them. Redirects shows only when the Redirect module is on.
-
Queue the items and run the queue, with Drush or in the browser:
-
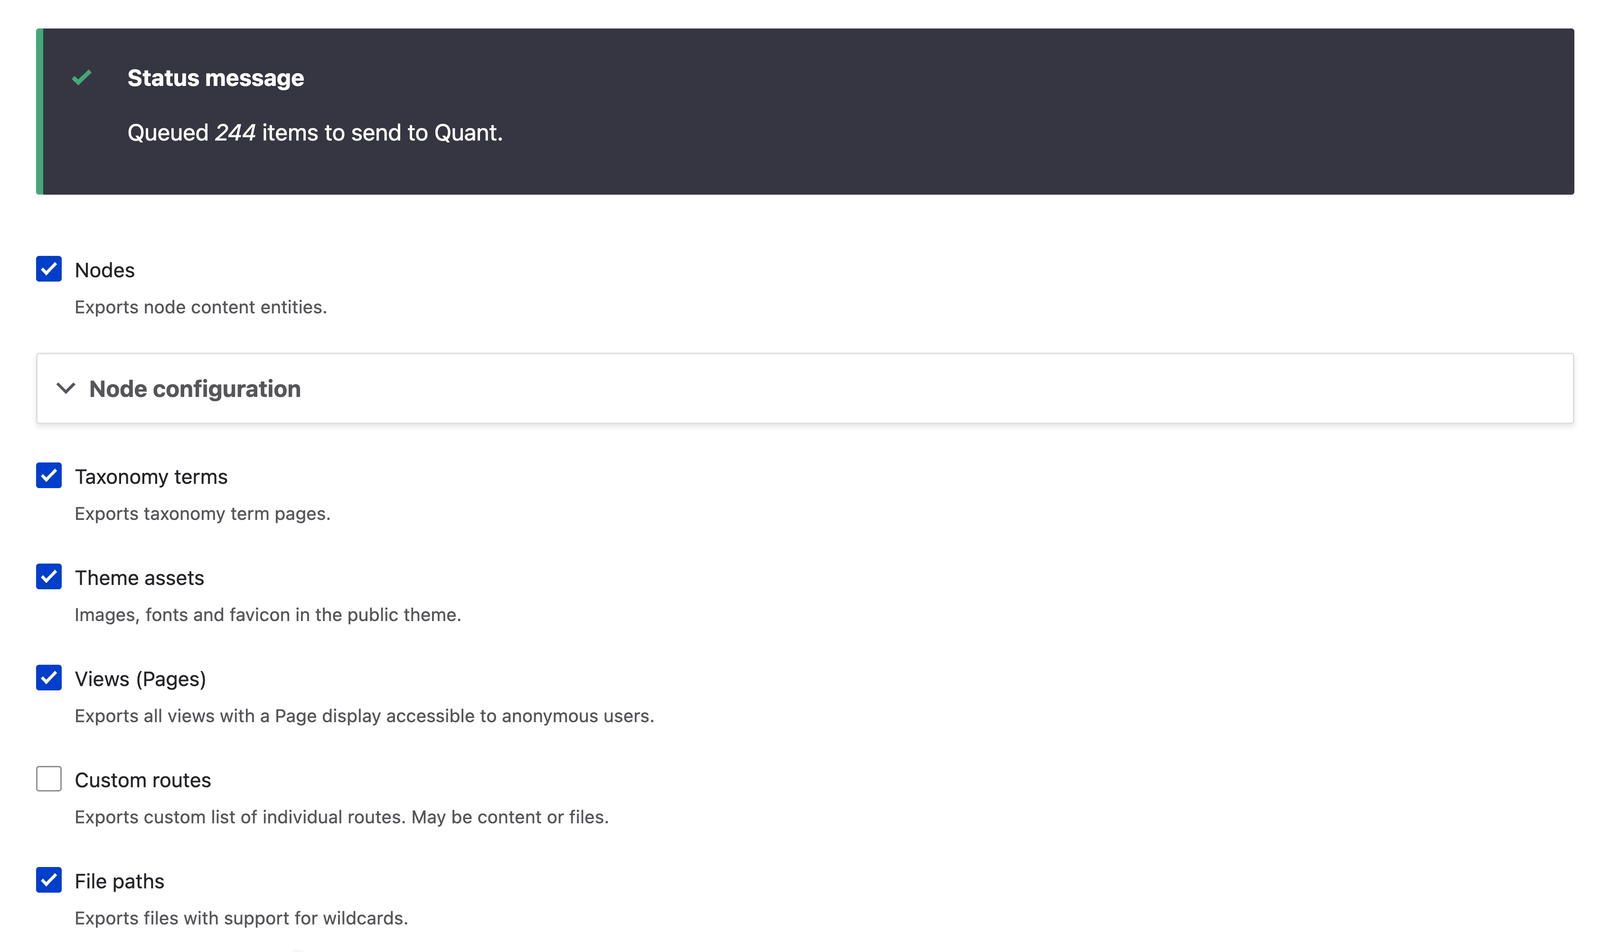
With Drush: leave Trigger the batch off, and click Save and Queue. Drupal shows “Queued N items to send to Quant.” Then run the queue on the command line:
drush quant:run-queueThe command starts five workers (change the number with
--threads) and prints “Seeding complete.” when the queue is empty. -
In the browser: tick Trigger the batch, and click Save and Queue. Drupal queues the items, then works through the queue in a batch on the page (“Exporting to Quant…”, “Processed X out of Y.”). The form notes that, depending on the size of your site and PHP configuration, this may not work. On a large site, use Drush.
Either way, the push also sends pager pages and image files that it finds on the way, so it can process more items than were queued. Drupal cron also works through the queue: each cron run processes queued items for up to 60 seconds.
-
See Run a seed for each seed option and the other Drush commands.
5. Check the static site
Section titled “5. Check the static site”-
In the Quant dashboard, choose the project in the project switcher, then open Content. Type part of a path in Search content, for example
news, to see the pages that the push sent.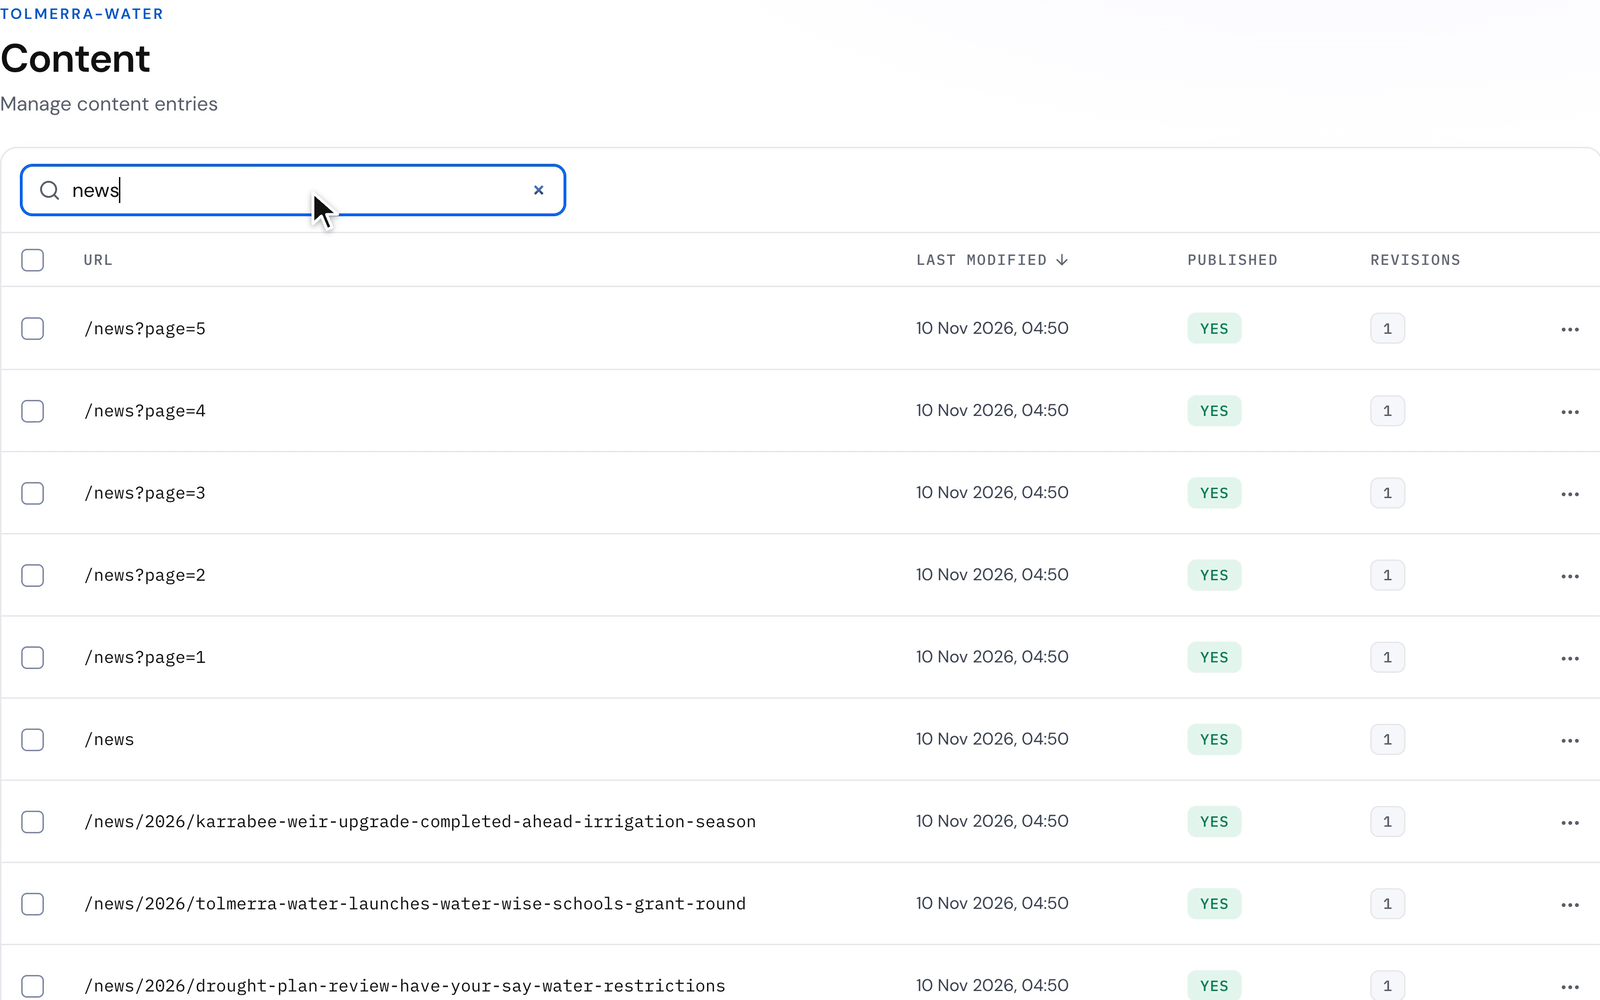
-
Open Domains. The domain with the Preview badge is the preview domain. Open it in a browser to see the static copy of the site on Quant.
6. What is pushed after the seed
Section titled “6. What is pushed after the seed”With Track content change on, and the entity type ticked under Tracked entities, the module keeps Quant current:
- When an editor saves a published node, taxonomy term or redirect, the module pushes it at the end of the request.
- When an editor unpublishes a node or deletes an entity, the module unpublishes the page in Quant.
- When the address of a page changes (for example a new Pathauto alias after a title change), the old address redirects (301) to the new one.
If a push does not reach Quant, editors see a warning on their next page view. See What is pushed on change for drafts, deleted content and failed pushes.
7. Forms
Section titled “7. Forms”A static page cannot run a form, so Quant Forms takes the submissions of your Webforms.
-
On each Webform, turn off Use Ajax (Settings > General > Ajax settings).
-
Go to Configuration > Quant > Forms (
/admin/config/development/quant/forms). -
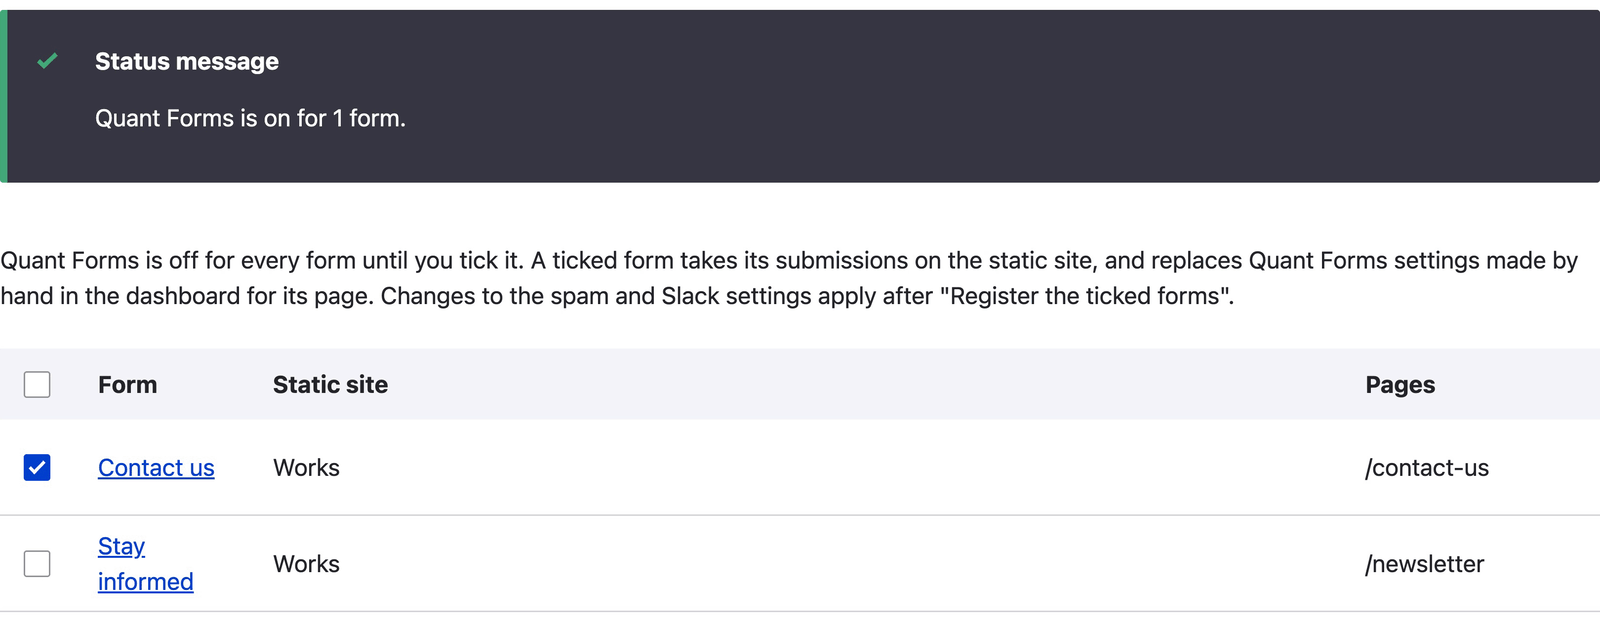
Tick each Webform that Quant Forms takes submissions for, for example Contact us, and click Register the ticked forms. Drupal shows “Quant Forms is on for 1 form.” A form that you tick for the first time is saved, and its page is published at once if the form is open.
-
If the message also says that pages “are queued to publish again on the next cron run”, run
drush quant:run-queue, or click Run cron on Configuration > System > Cron (/admin/config/system/cron), or wait for cron. This happens for a form that was already ticked. Do not use Save and Queue on the Seed page for this: it empties the queue first. -
Open the page of the form on the preview domain and send a test submission. It shows in the Quant dashboard under Form submissions.
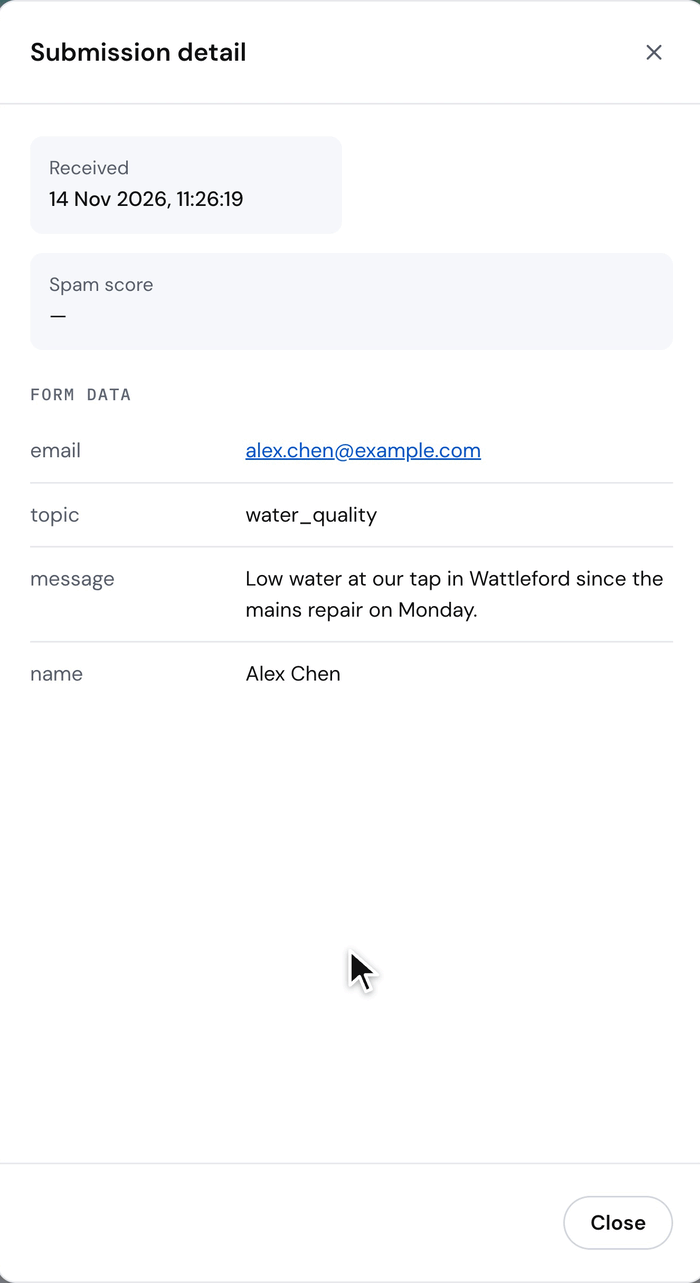
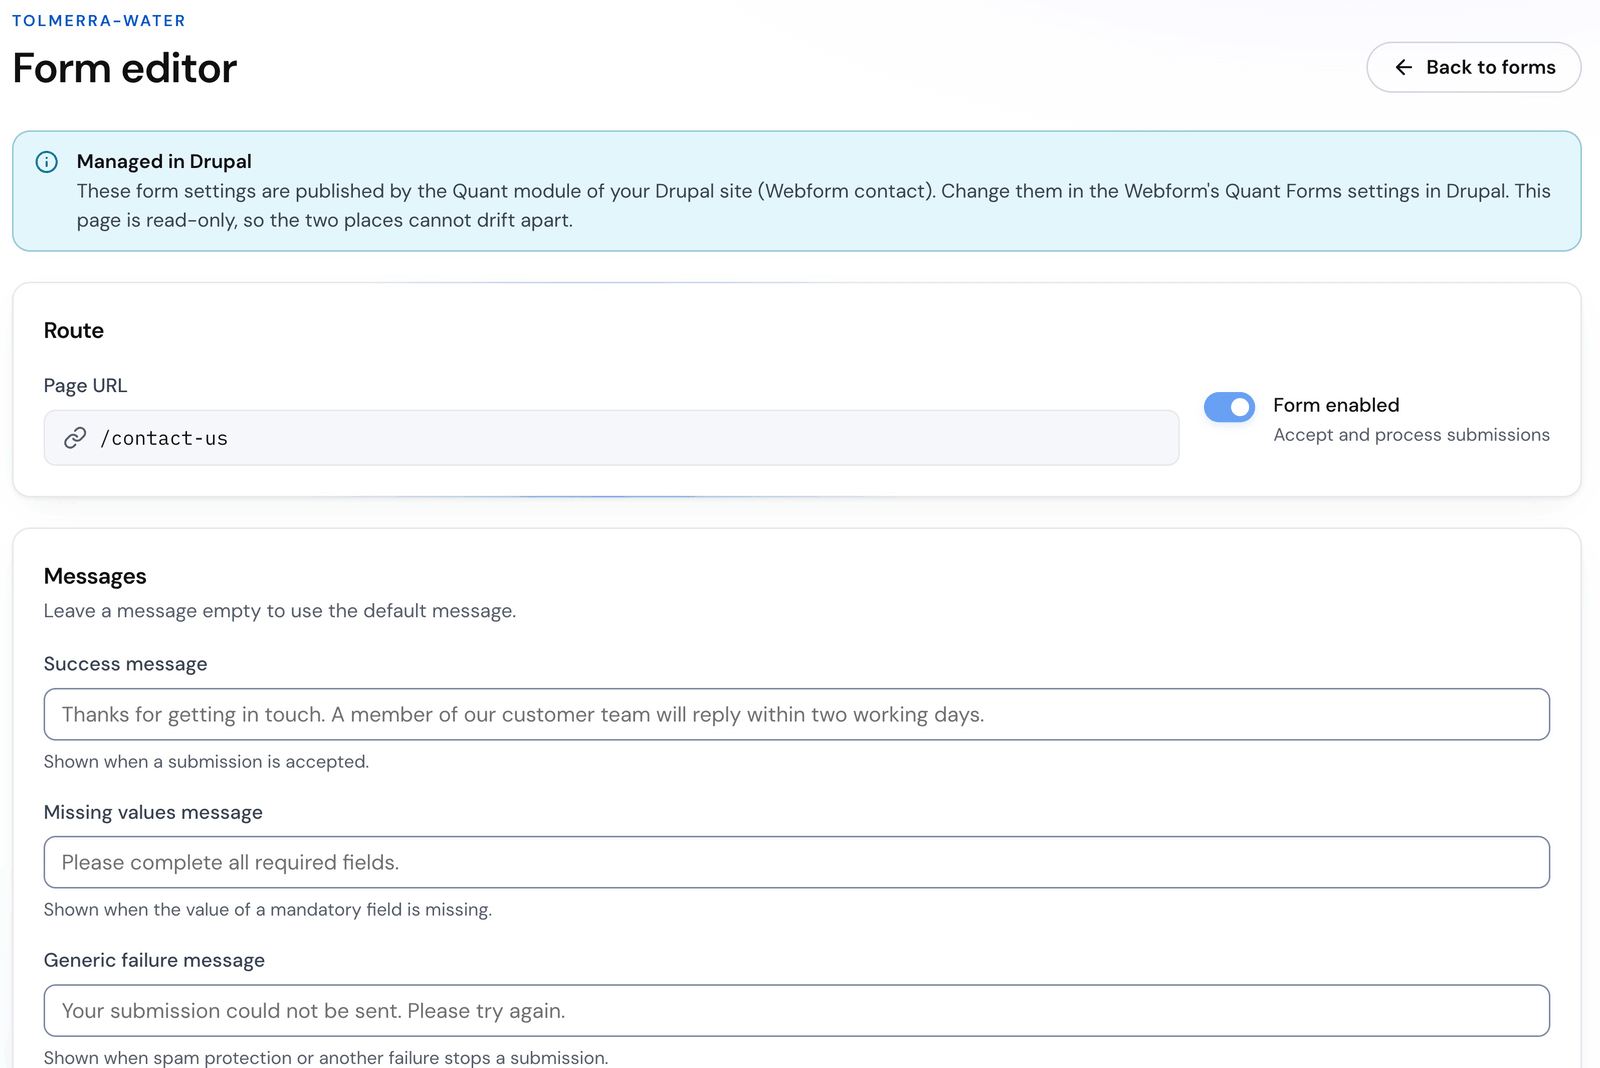
See Webforms on a static site with Quant Forms for the per-form settings, multi-page forms and what does not work on a static site.
8. Search
Section titled “8. Search”-
Make sure search is on for the project (see Enable Quant Search).
-
Go to Configuration > Quant > Search > Pages (
/admin/config/development/quant/search/pages) and click Create a search page. -
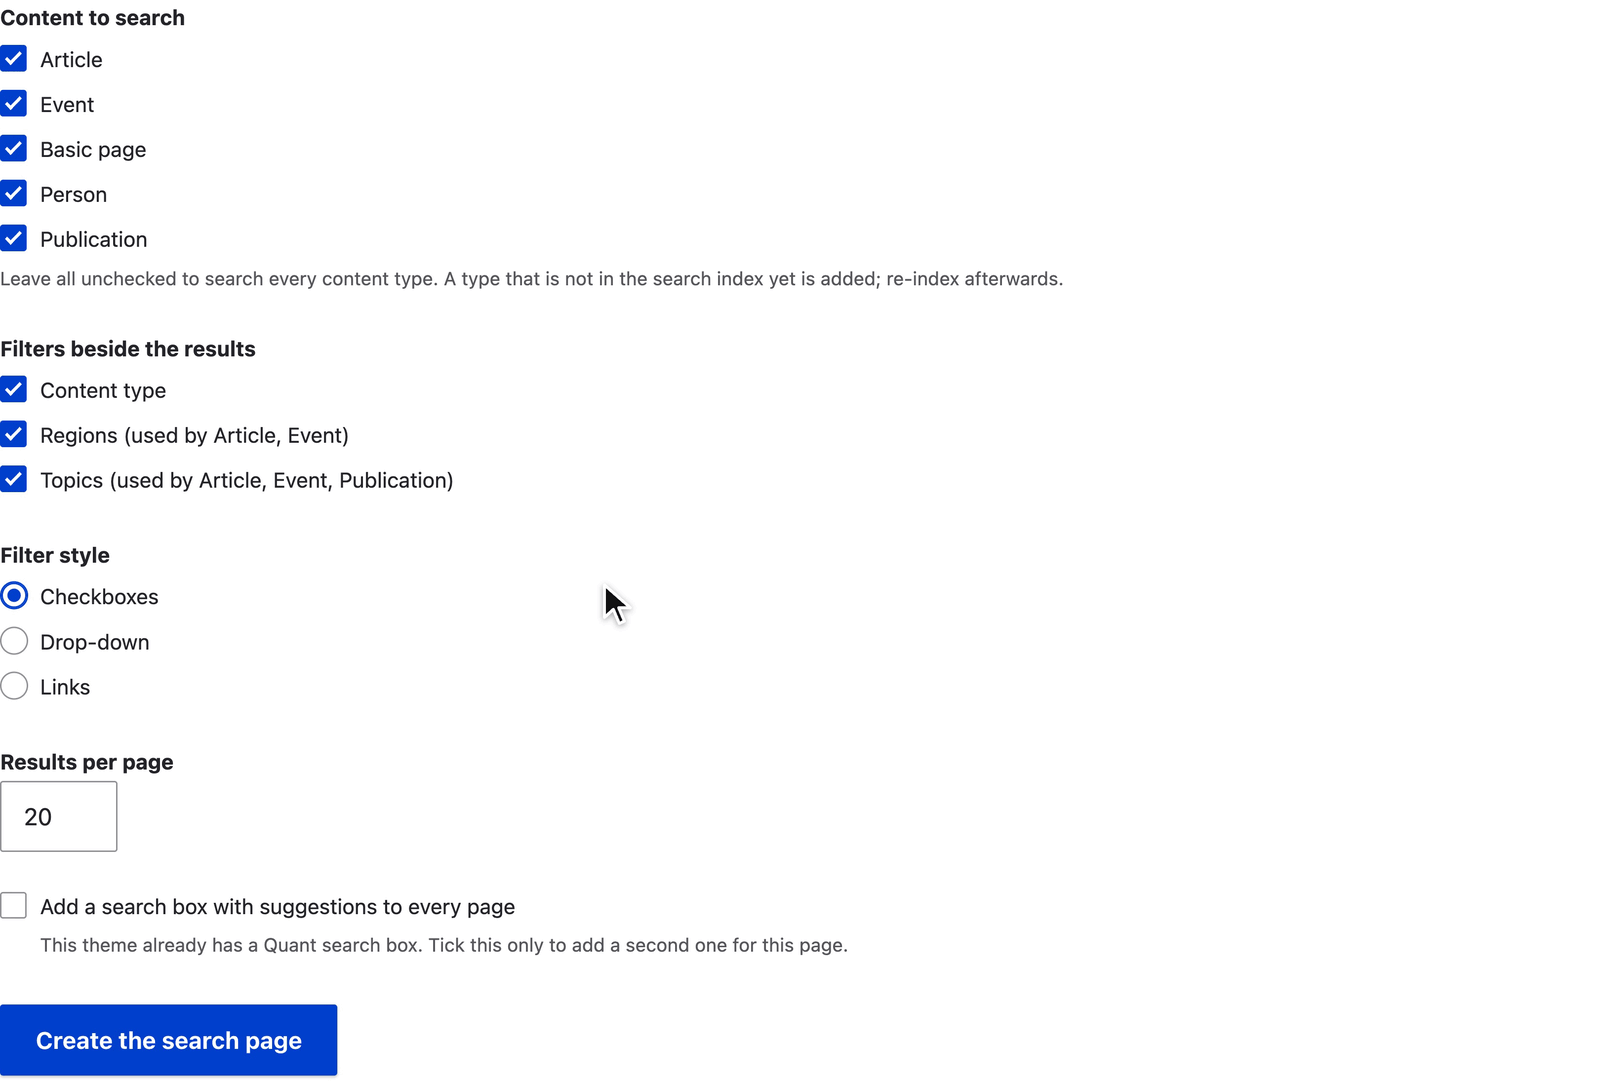
On the one screen, check Page address, tick the types under Content to search, and choose the Filters beside the results (facets), the Filter style and the Results per page.
-
Leave Add a search box with suggestions to every page ticked to put a search box on every page. If the theme already has a Quant search box, the checkbox starts unticked and says “This theme already has a Quant search box”; leave it unticked unless you want a second box. Choose the theme Region for it. The form suggests a region and names it under Region (“Suggested for theme: region”). The suggestion is
secondary_menuwhen the theme has that region (Olivero and themes based on it), then the region where the theme shows the Drupal search box, thenheader. The choice appears only when the Block module is installed. You can move the box later in Block layout. -
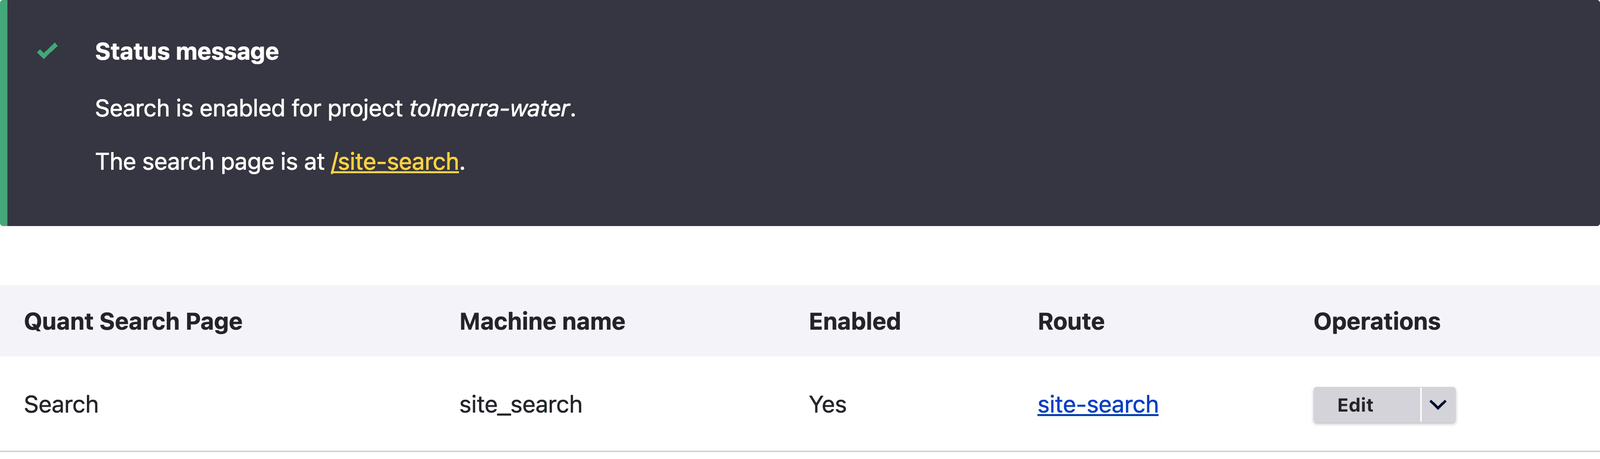
Click Create the search page. Drupal shows “The search page is at /address.”
-
If the page added content types to the search index, follow the “Re-index the content” link.
-
A search page publishes to Quant every time it is saved. This includes a save by Drush, a recipe or a configuration import (
drush cim), not only the search page forms. The publish runs after the request, and only when Track content change is on and the site is connected to Quant. A save during installation or in maintenance mode does not publish. Drupal lists it with the changes that did not reach Quant, and the next save of the page or a seed publishes it. -
If you added a search box, publish the site again: on Seed, click Save and Queue, then run
drush quant:run-queue(or tick Trigger the batch before you click Save and Queue). The static pages show the box only after they are published again.
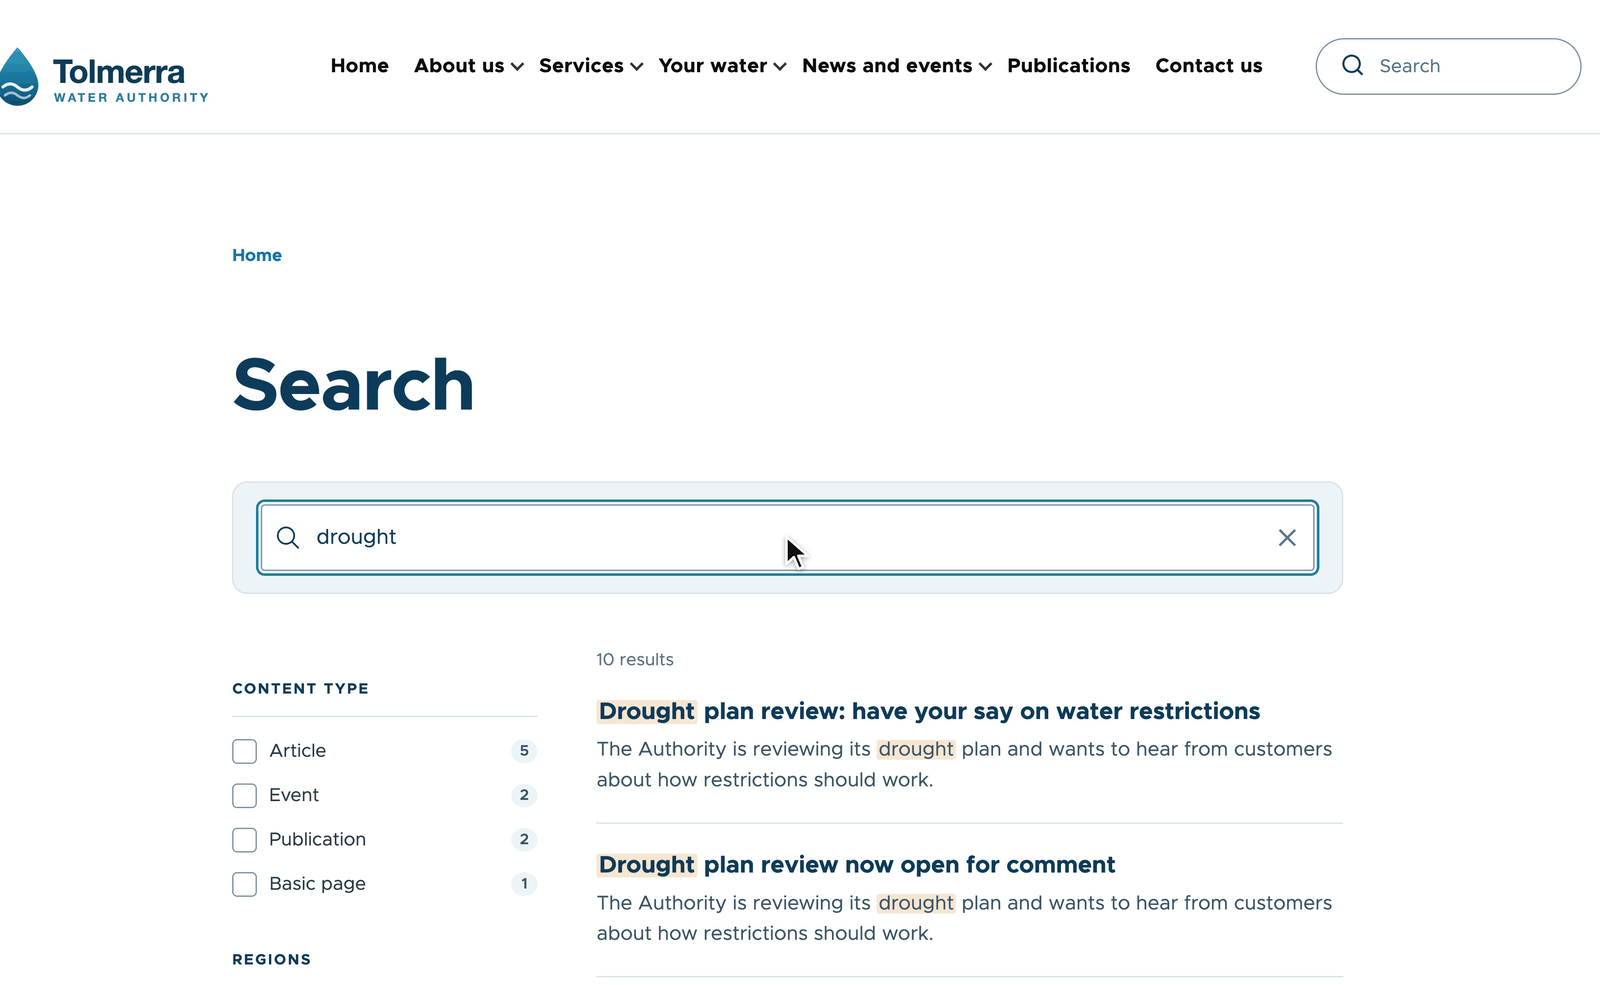
Open the search page on the preview domain and search for a word from your content. The Quant search index answers the query.
See Using the Drupal Quant Search module for Create from a View, manual filters and the index settings.
9. Go live
Section titled “9. Go live”- Before you change DNS, make Drupal reachable for your editors on a separate editorial host, and add that host to
$settings['trusted_host_patterns']. Keep the HTTP Host header set to the public domain. See Separate editorial domain. - Point your domain at Quant. Follow the go-live process: check the domains of the project, create the DNS records that the Domains page shows, and wait for the certificate.
- Secure the editing site (next section).
10. Secure the editing site
Section titled “10. Secure the editing site”The public now reads only the static copy on Quant, so the Drupal site does not have to face the internet.
-
Keep Drupal on a private network that only your editors can reach, for example a VPN or an office network. Then no request from the internet reaches Drupal.
-
If editors must reach Drupal over the internet, send their requests through Quant with proxy rules (see Maintaining CMS access), and add these steps:
- Put a second lock on the admin paths: a Password protect rule at the Quant edge, above the proxy rules. See A second lock on the admin areas.
- Turn on the WAF on the proxy rules that reach Drupal, in report mode first, then in block mode. The WAF inspects requests on proxy rules only; the static pages are not inspected. See Configure WAF for your site.
- Check the security headers of the project, and add a Content-Security-Policy. See Improve your security headers.
- Keep a break-glass plan. When a critical Drupal flaw becomes public, disable the proxy rules that reach Drupal: the public site keeps serving its static pages while you patch Drupal, and editors wait until it is fixed. See Break-glass: switch the site to its static copy.
The edge rules protect only the requests that come through Quant. If Drupal can also be reached on its own address, restrict that address at your host too.
-
Turn on two-factor authentication for Drupal accounts. See Security considerations.